Basic Information:The new house is a 7 year old manufactured home by Fleetwood Homes (a Phoenix company). It is about 1500 sq ft overall with a master bedroom / bath, 2 additional bedrooms and a second full bath. The "living room" is separated from the dinning / kitchen area by a set of cabinets, giving a fairly open floor plan. There is an area between the smaller bedrooms and dining area that could be used as a sitting room or play room. I am using it as my workshop for carpentry etc. A large sliding glass door leads out to the "back yard" where I may build a small deck one day. It is on the north side of the house, so it would be shaded and cooler in the summer. The house came with appliances that work well, which saved a lot of time and expense. Heating / air conditioning is provided by a heat pump that needed repair, but seems fine now. Weather:The nights are getting cold now and the days get colder as well. Average temperatures are from the mid to high 60's in the day time and 40's at night. We are in a colder period lately, as has been the rest of the country, with night time temps below 30 and day time temps struggling to get above 50. The heat pump runs between 10% and 25% of the time when it is below 45 and 30 degrees respectively at night until late morning, when / if the sun warms things up again. Seems like a pretty efficient system. Projects:Winterizing: I insulated the water line to keep it from freezing at night (easy fix, no idea why it was not done before). I also built folding insulation panels for all the windows. Some of you know about my famous window insulator made of reflective barrier. Laugh if you must, but it definitely cuts the utility bills! Plus the new design allows them to be quickly removed and stored when not needed. Leveling: Landscaping & Run-off Protection Before the main landscaping project I used about 2 tons of the purchased dirt to build the barrier on the fence line by the road. There is a natural path for runoff from the road to the side (and under) the house. Another ton was used to cover and build up the area on the road side and part of the front to block the runoff path. All this work was done by hand with buckets, hand cart, shove and garden rake. Believe me when I say that the Kubota tractor was a back, if not a life, saver. On the other hand, all the exercise has me in better shape physically than in a very long time :-) Interior: Lots of other little projects as anyone would expect in a second owner home. I added a medicine cabinet in the master bathroom. Fixed one of the toilets. Built an awning for the front entrance (came out sweet). Replaced a broken door to the master bedroom (my birthday present to me :-). Fixed loose molding etc. Still debating what kind of floor covering to use (mostly bare floor now). Carpet seems like a bad choice as there is nothing but dirt outside. It gets tracked everywhere and would be a real pain to get out of carpet. Same goes for laminate flooring. I suspect it would get scratched to death in short order. Leaning toward vinyl and will keep an eye out for a sale. Making a house a home:I have been gradually replacing some of the furniture I left behind. Now I have throw rugs, a dresser, queen size bed, computer table, book cases and pictures in the bedroom. The bedroom is as big as my old living room, so it has enough room for the bed, dresser and computer setup. Very nice setup... will post some inside pictures when I get completely unpacked and can clean up all the tools and clutter (yea right :-) More to come... |
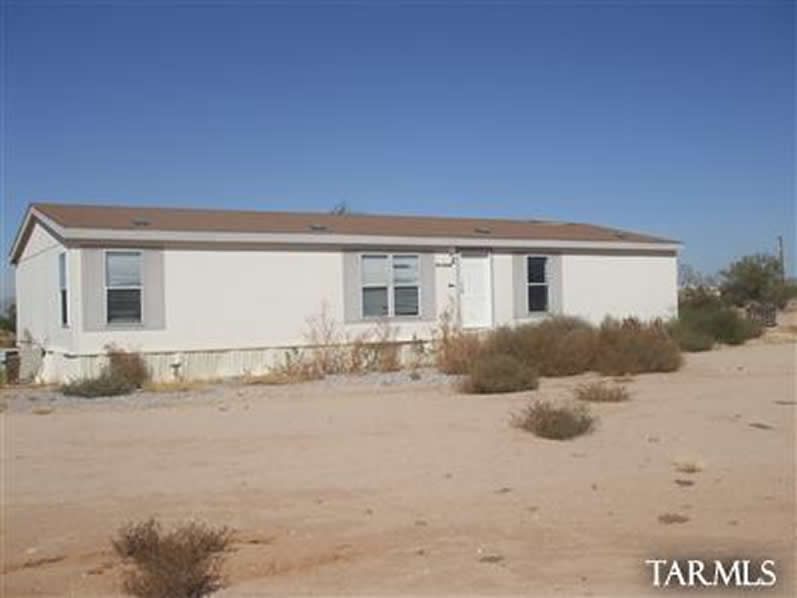
The houseThe realtor has some pictures of the property before the sale. She will send them along and I will select a couple to post here. This is one I found on-line (grainy picture, but you get a sense of the condition).
|
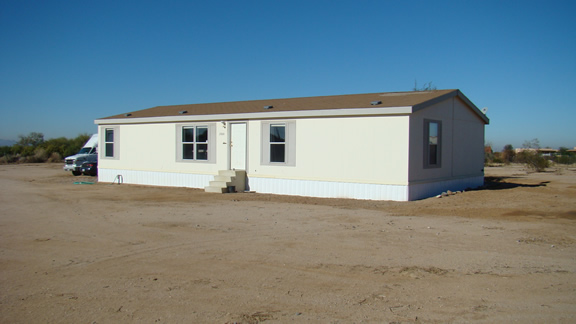
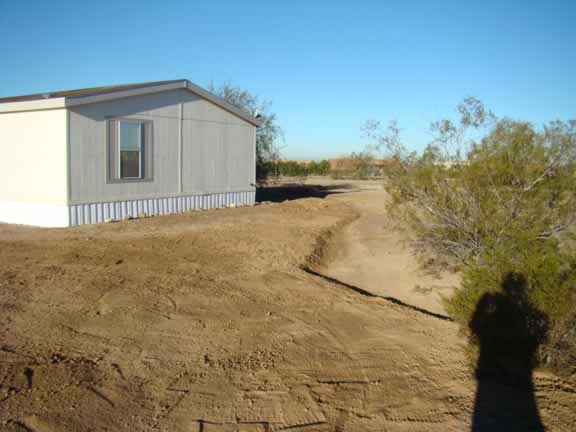
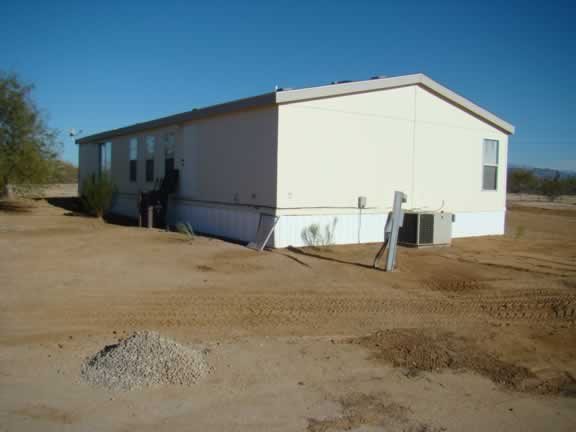
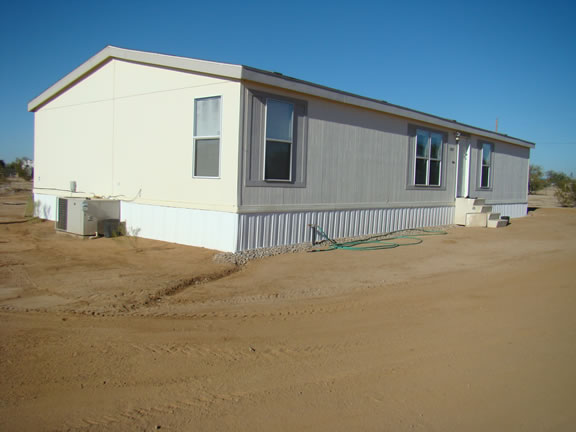
The house after the first monthThese are some pictures I took before the major landscaping project. At this point in time I have been working on the house for one month. More pictures are now posted following the the landscaping project. The front of the house faces the corner of the lot,
basically east south east. It cleaned up nicely after removing the
gravel and replacing the skirt. Too bad I didn't make any process
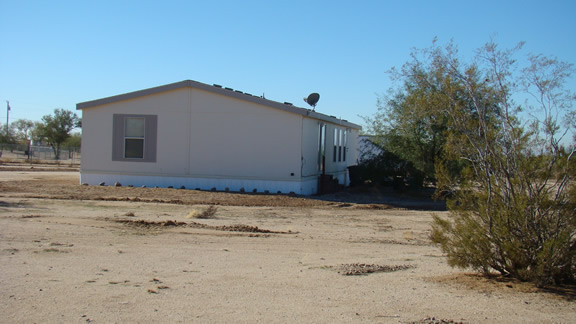
pictures. This is the east side of the house. Note the
raised area under the window in front of the shirt with rocks on
top. It is about 8 - 10 inches higher than the ground level.
This replaces the ugly gravel and will divert any heavy runoff to the
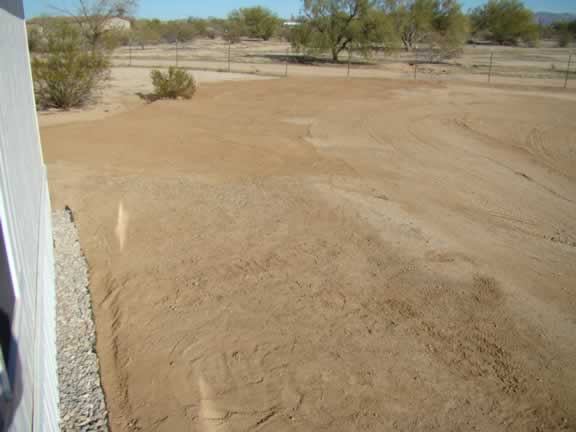
back of the property. The next picture is of the source of the
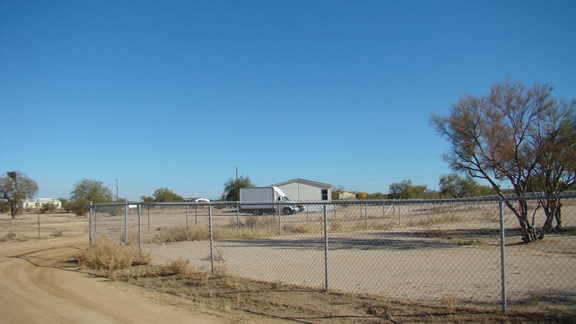
runoff and the effort to divert it. This is the view from the road leading to the
property. Basically everything in view, except the foreground
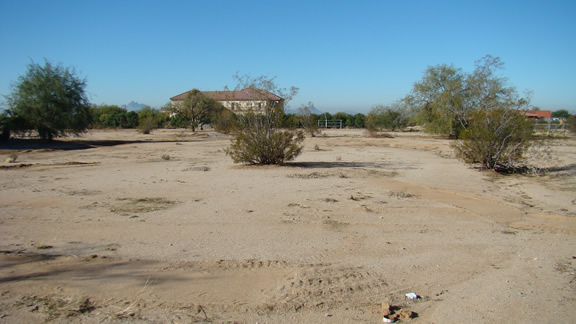
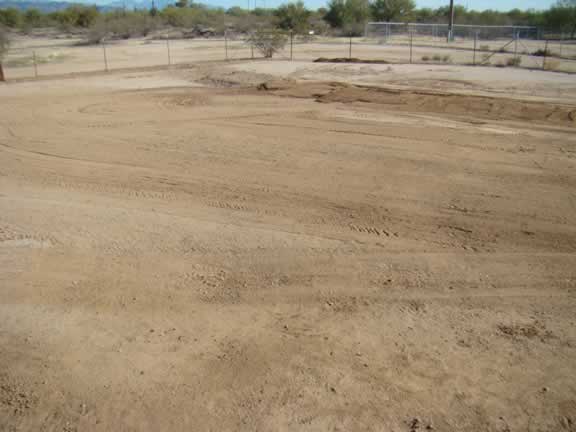
fenced area, is the property. The back part of the property looking west. The
trees in the foreground are on the property, The mansion in the
background is unoccupied, but not in foreclosure. The son of the
man that homesteaded the valley owns it. |
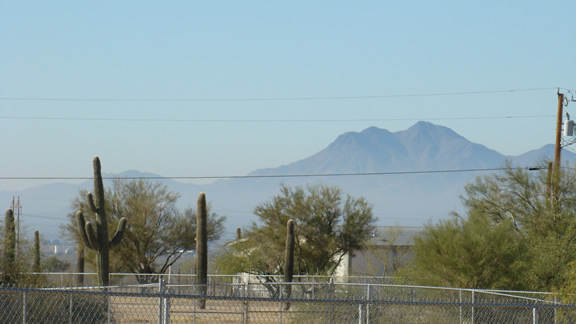
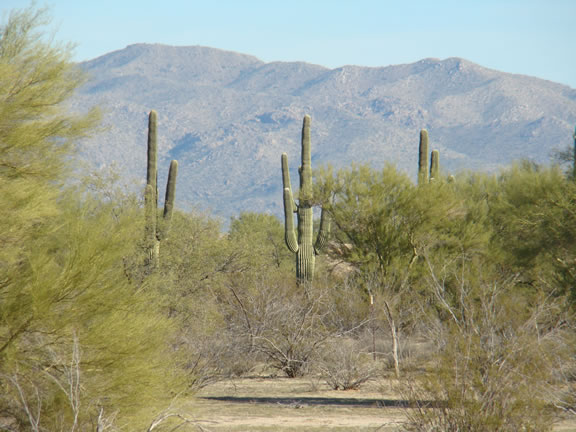
| These are a few of the views that
make living here so spectacular.
The mountains to the west are on the other side of the
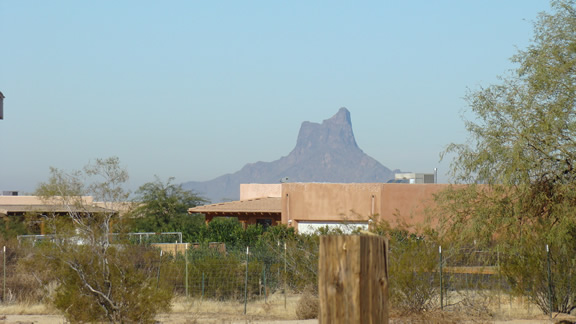
valley ~ 4 mi away This mountain is an old volcanic cone to the north
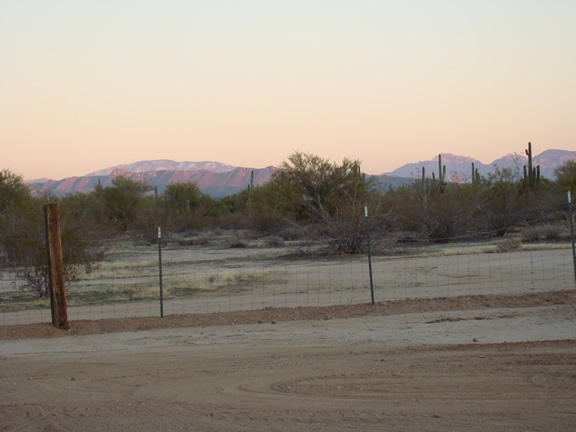
west View to the east. Mt. Lemon is the tallest mountain on
the left at 9,000 feet A close up view of a few of the cacti near by. One of many spectacular sunsets This is a lens cloud over Mt. Lemon at sunrise.
Lenticular clouds, technically known as altocumulus standing
lenticularis, are stationary lens-shaped clouds that form at high
altitudes. |
The landscaping project:These are pictures taken after the landscaping project. The entire project is intended to adjust the landscape to divert rain runoff. Overall the length of the project is 80 paces or about 240 feet. |
|
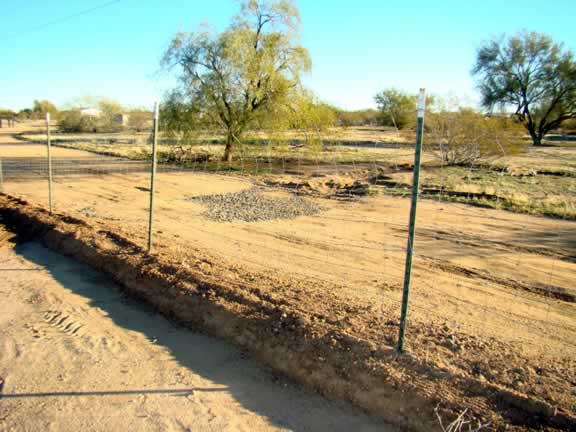
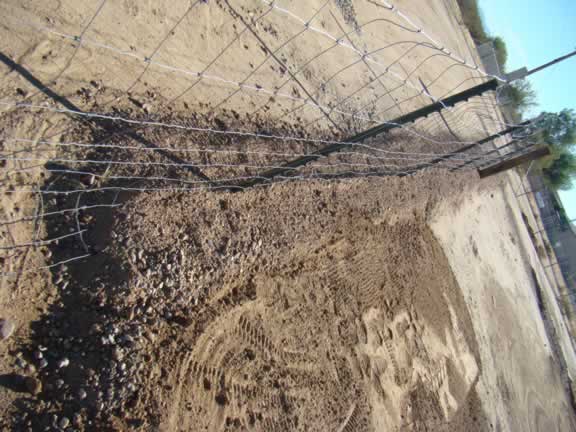
This is a picture of the source of the runoff.
The center of the picture is the wash on the other side of the road and
gravel fill used by the neighbors to fill a deep depression. All
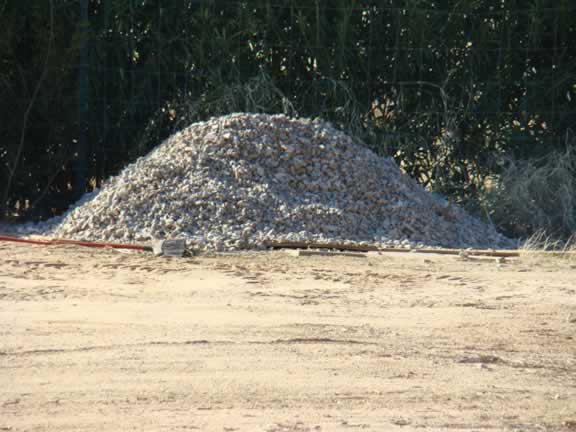
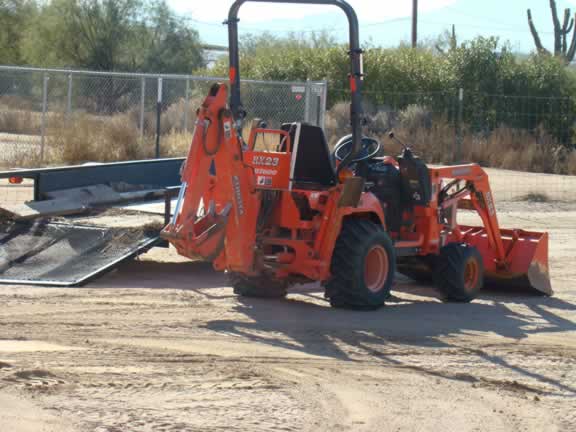
the dirt along the fence was moved by hand! This pile of gravel came from the front of the
house. Took about 3 days using buckets and a shovel. Bigger
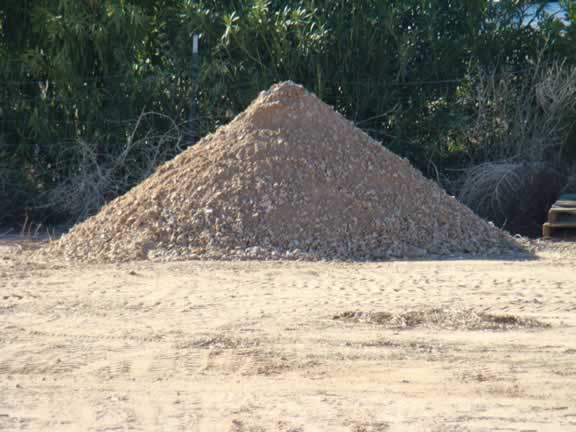
than it looks, I estimate it at about 5 tons! This pile of gravel came from around the rest of the
house. The Kubota moved all this. It is a bigger pile, but
only took a few hours. Kubota tractor. Pretty small machine, but does a
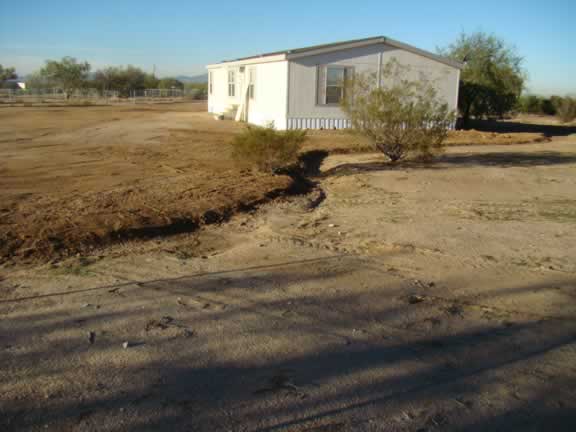
lot of work for it's size. All the shaded dirt fills a depression around the
natural path of the wash from the road. The dark shadow top left
is from the side of the house. All this fill connects with fill on
the roadside, diverting the flow between the two bushes, around a bend
toward the back of the property. It is about 130 feet from the
bushes to the natural wash across the back of the property.
Subsequent pictures follow the path described. This is the fill added beside the road to divert
runoff to a natural wash. It connects to the fill added in the
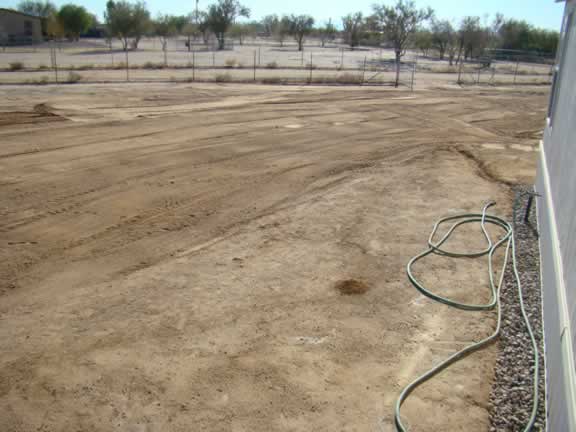
next picture. This is the natural wash that was built up with
fill. The intent is to turn the path of runoff toward the wash
behind the house. It connects to the fill added in the next picture. This is some of the fill added along the side of the
house. It connects to the fill added in the next picture. This is a view of the runoff path after adding several
tons of fill. The shadow along the path is about 1 foot
tall. There is a natural wash at the end of the fill where water
can flow harmlessly across the back of the property.
|
|
This view starts a review of the fill project
result. The darker shaded dirt fills depressions running up to the
front steps that would have been flooded in the past. In the near
foreground you can see another project. This effort fortifies the
base of the skirt and diverts rain water from the roof to the
yard. Ironically, the gravel that was so ugly scattered all over
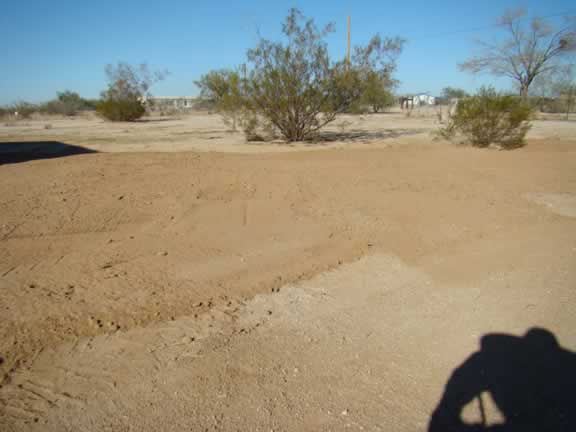
the yard looks clean and neat here. Continuing to turn the view, this covers a large part
of the front yard where runoff flowed in the past Continuing to turn the view, this covers the rest of
the front yard. The majority of the dirt for fill came from a rise
in the middle of this area. You can also see the rest of the
fortified skirt / drainage along side the house.
|
|
So this is the result... a nice clean presentation of
the house on the land with no more ugly gravel scattered all over. The
ugly gravel removal is cosmetic of course, but certainly has made a huge
difference. The neighbors are all expressing appreciation :-)
|
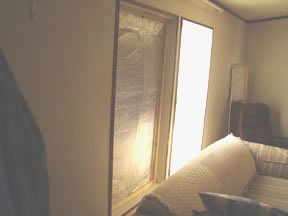
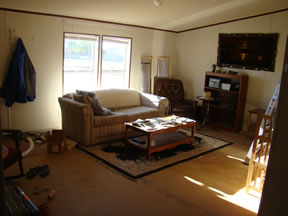
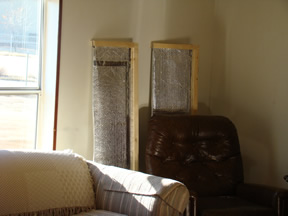
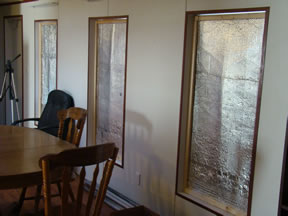
| Winterization: Some pictures of my new application of window insulation... The window insulation is so effective (R9) that frost will form behind the foil on the inside of the windows when it is really cold outside. The inside temperature of the foil is remains at room temperature. The sun streaming in through the living room windows warms the house to 70 degrees or more before noon! Two windows in the living room (one covered one open
& both open) |